
Some of the links in this post are affiliate links, which means I may earn a small commission at no extra cost to you. As an Amazon Associate, I earn from qualifying purchases.
When we moved into our home, there was this little niche by the door that just looked like it was meant to be a mudroom bench. You know those spaces that practically beg to be turned into something useful and cozy? This was one of those.
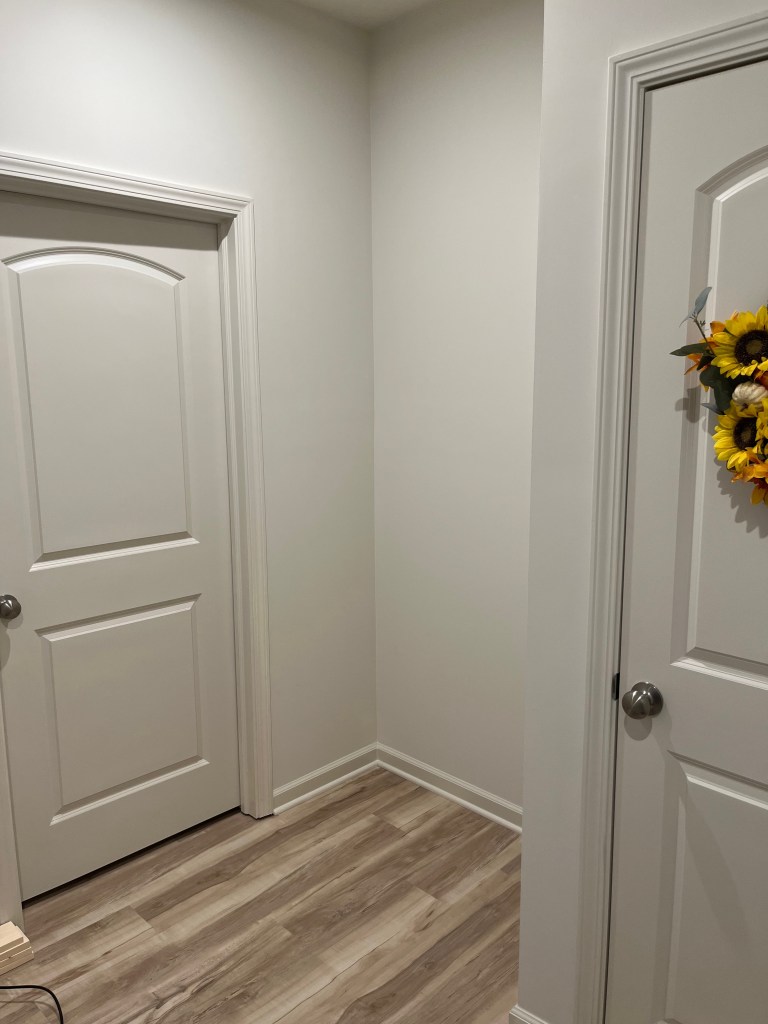
It only took us… about a year and a half to finally start the project. But once we did, my husband and I spent three weekends bringing it to life. It could be a weekend project if you’ve got uninterrupted time but with a toddler running around, we worked in short bursts during naps and whenever the grandparents could come over to play.


The Not-So-Straight Walls
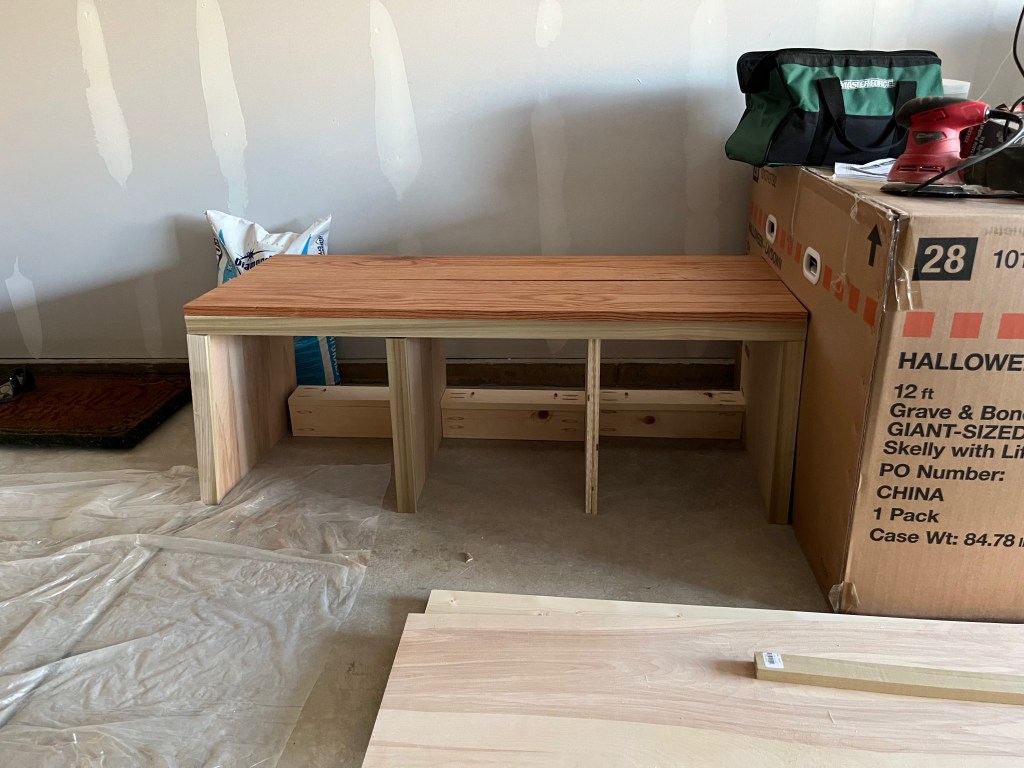
One of our biggest challenges? The walls. They were not straight, and the corners were definitely not 90°. Sliding the wood bench pieces in was such a struggle. We had to shave off little bits at a time to make them fit. At one point I got so tired of the micro cuts that I just jammed it into the wall and called it good.
Learning As We Went
I also stained the bench the wrong color at first. It turned out way lighter than I pictured, so I ended up re-staining it darker and honestly, it made all the difference.
For the board and batten, we tried to save money by going with cheaper wood. I’ll be honest: it worked, but it took a lot of sanding to get it smooth and presentable. If I could give one piece of advice: save yourself the extra work and go with the nicer wood.
The Fun Part: Finishing Touches
Once the hard parts were done, adding the hooks, baskets for shoes, and cozy pillows made it all come together. I love styling the space. It’s the perfect mix of practical and pretty.


Some of the links in this post are affiliate links. I may earn a small commission if you make a purchase at no extra cost to you.
What we used:
- Black Hooks – Exact Hooks we used from Amazon
- Seagrass Baskets – Exact baskets we used from IKEA
- Throw Pillow Inserts – Exact pillow inserts we used
- Throw Pillow Cover – Floral – I love our pillow covers! They work so well with the wall color
- Abstract Art Print – I saw this in someone’s video on youtube that was like a “Shop with me” at Hobby Lobby. I literally went out and bought it the next weekend! It’s the perfect moody color scheme
- Our floral pillow cover isn’t available at IKEA anymore, but it’s a waffle knit texture. I think it helps for it to just have a different texture to add more interest to the solid color
Similar Options:
- Similar Baskets – Set of 6 baskets similar in color and same size
- Similar Pillow Options – Lots of different 20×20 pillow insert options
- Similar Throw Pillow Cover – Pink – This pink cover is the right color, but not the right texture
Now, I use the mudroom every single day. It’s right by the door we use to come and go, and every time I see it, it makes me smile. The green on the walls might just be my favorite color in the house (and it’s one of the few spaces we’ve actually painted so far!).
We’re not professionals by any means. Just two parents making our home feel like us, one project at a time. This little mudroom corner has become such a warm, happy part of our everyday life, and I love that we built it together.
Love cozy home projects and bookish corners? Subscribe and join me for new posts every week!
If you don’t see the confirmation email right away, check your spam or promotions folder and mark “Not Spam.” Once you confirm, you’ll be all set for cozy updates!


Leave a comment