Category: DIY

  • The baby blanket that almost was

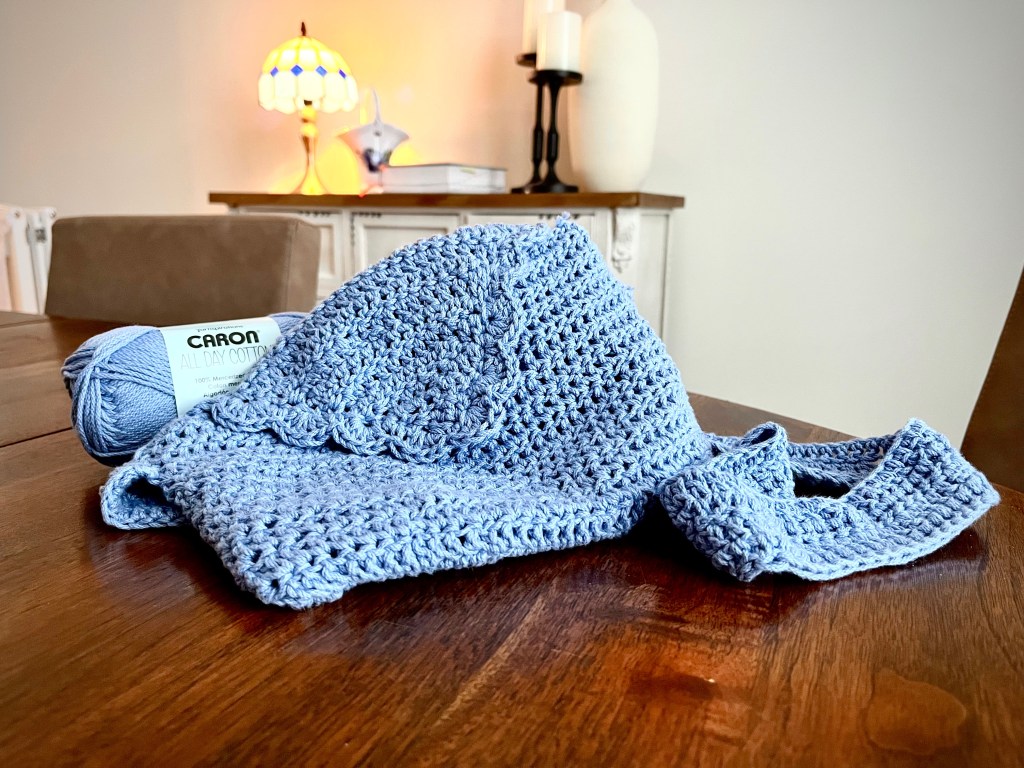
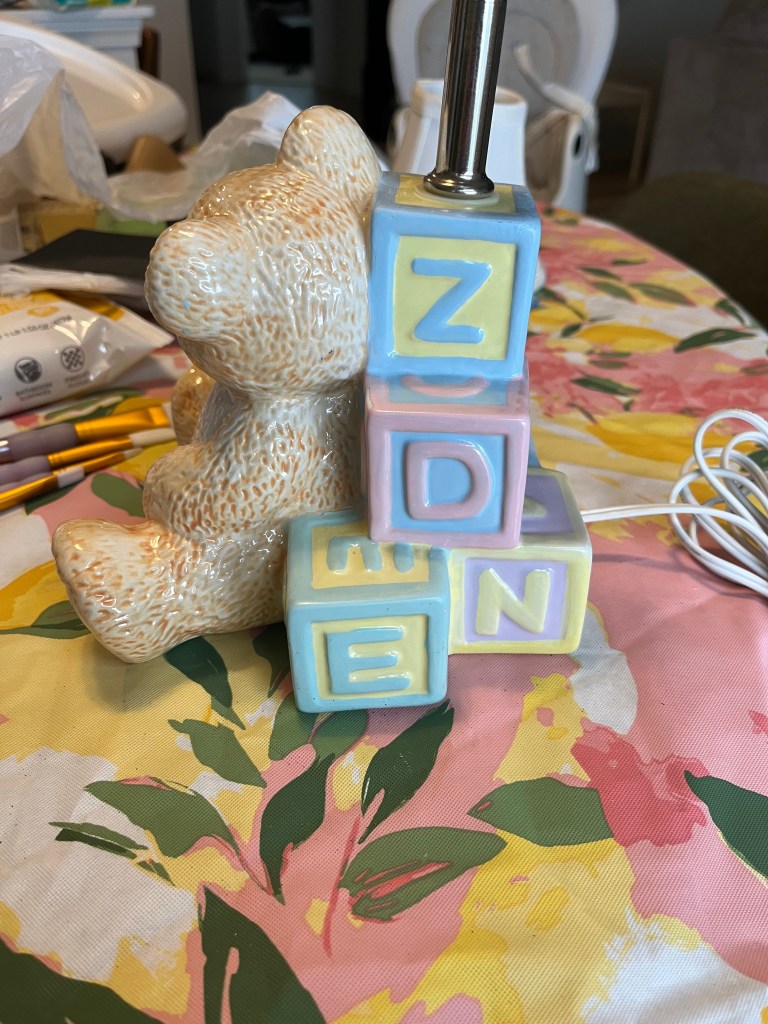
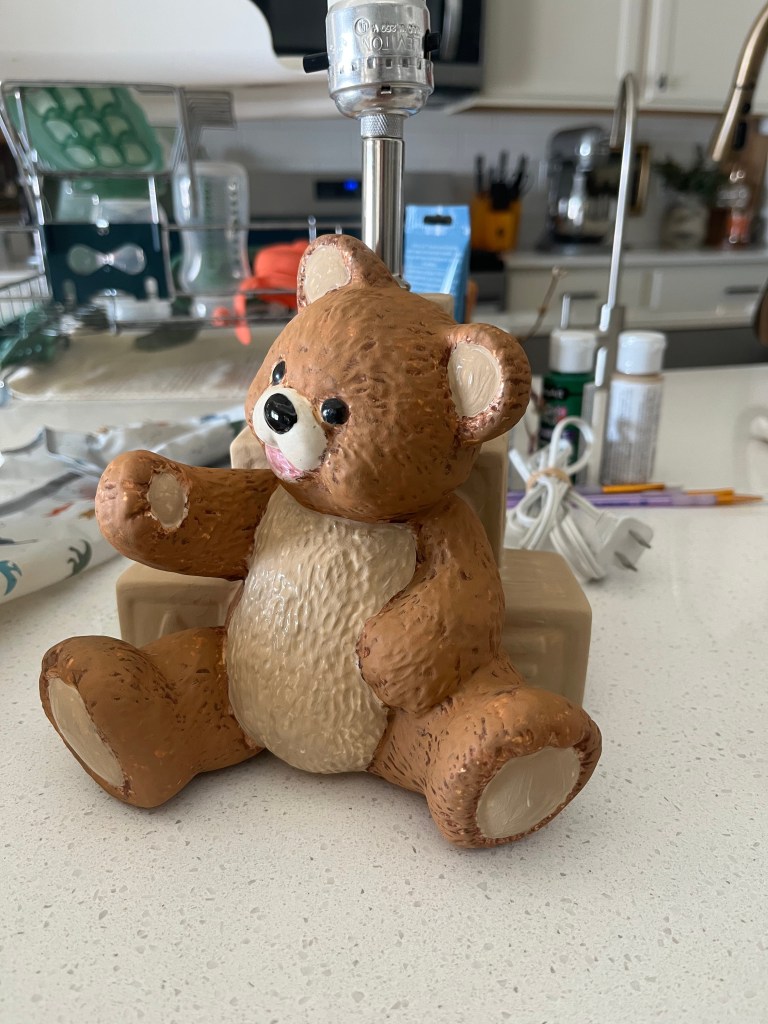
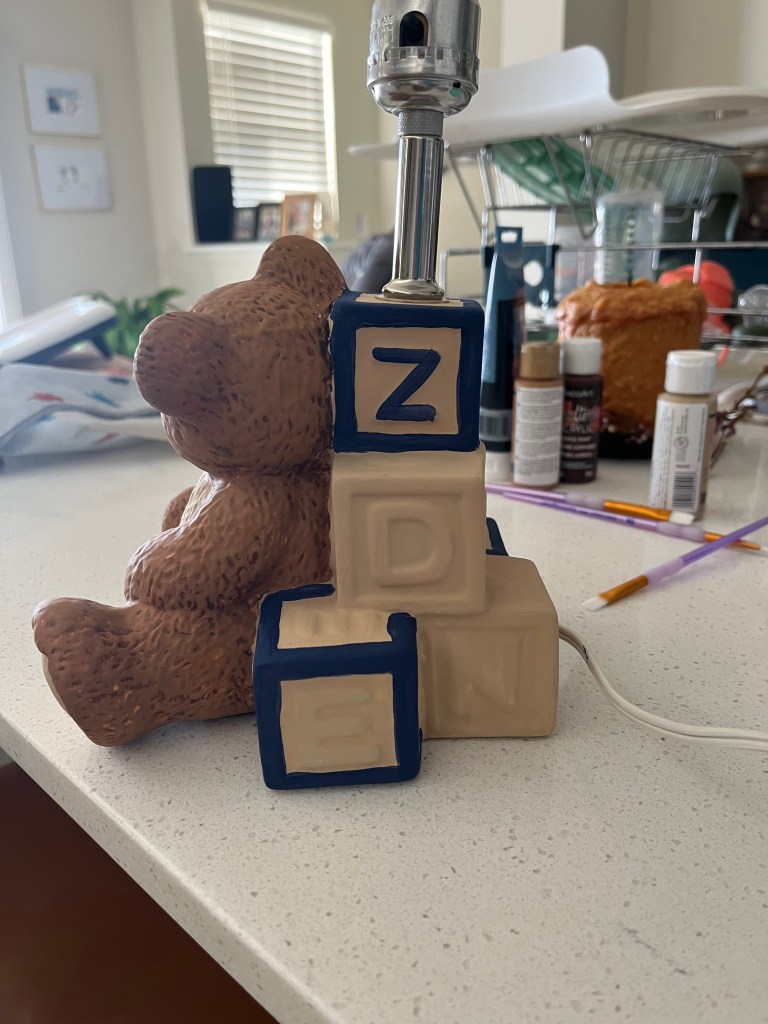
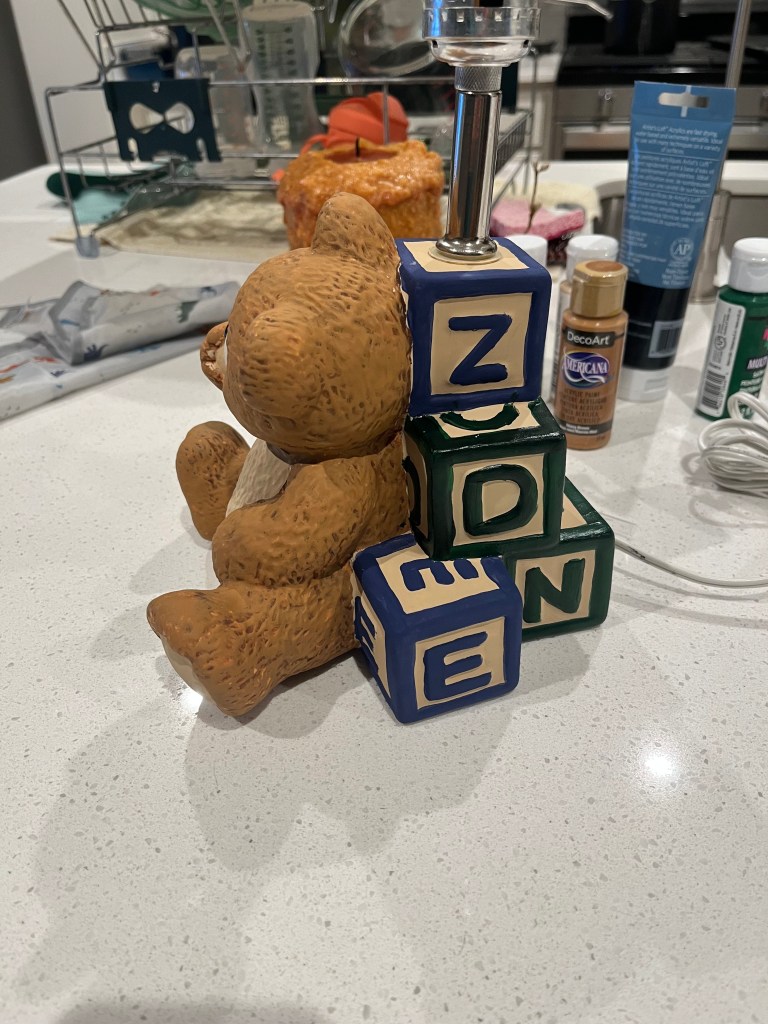
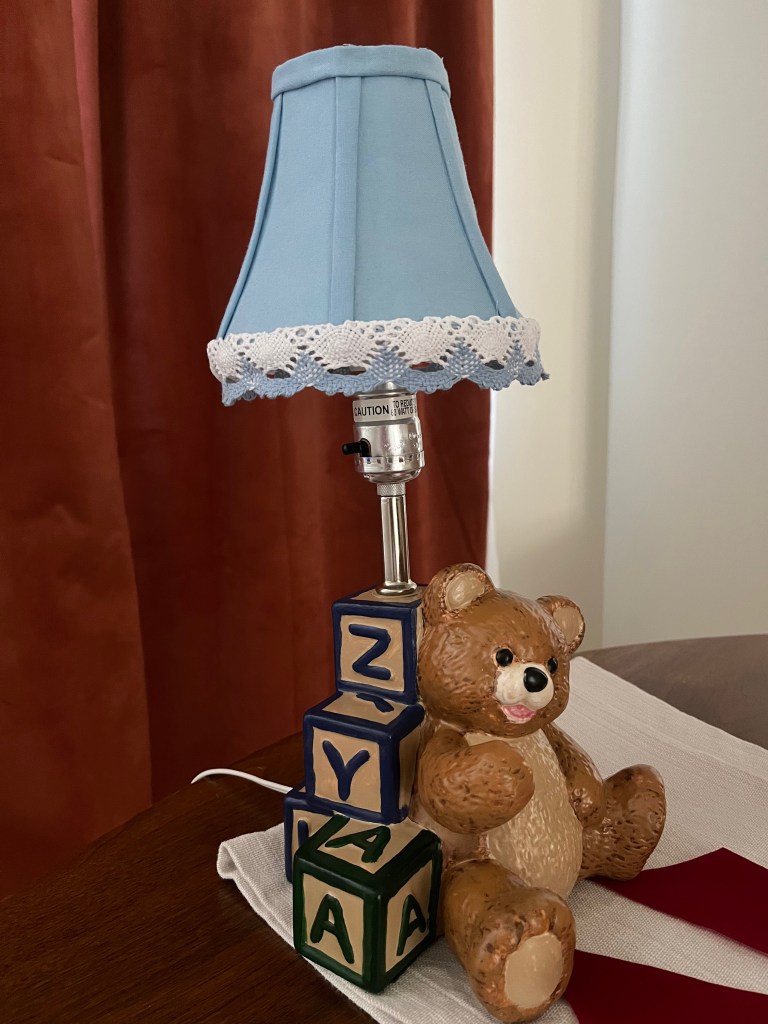
    I was walking through meijer one day, perusing the craft section trying to find paint for a lamp revamp I planned on doing. When what to my wandering eyes should appear? A cake of yarn that claims it’s big enough to make a baby blanket. What?!!?

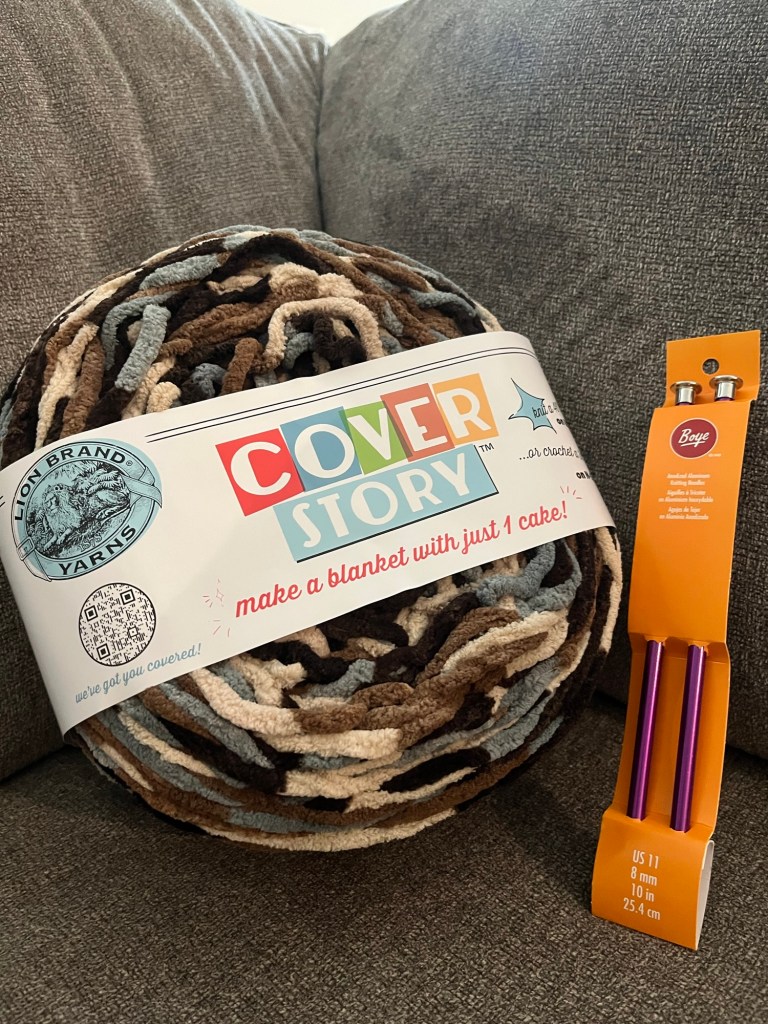
    As I admired the colors of the yarn, noting that they would pair beautifully with my cousins nursery, I bought it. Do I crochet? No. Do I knit? No. So I had to buy needles. I of course chose knitting, because I enjoy frustration.

    I buy the size needles it recommends. 2 straight needles. I head home and immediately started knitting. I dabbled in crochet and knitting when I was pregnant with my first. I think the only thing I crocheted was a winter hat that didn’t fit.

    Anyway, so I watch a YouTube video to “brush up on my skills” and get to work. When I tell you this was the hardest thing I’ve ever done, I am NOT exaggerating. First of all, I had to cast on, I believe 80 stitches. 80 STITCHES! On the needles. Ok…James?

    The stitches didn’t even fit. I was fighting the yarn the whole time trying to keep it from popping off. After further research, I learned there were circular needles, so of course I ordered a set of those AND a crochet needle set because what’s a spontaneous hobby without going overboard with the supplies?

    My 4ft blanket squished on a 2ft needle. How did I not know this wouldn’t work? (Peep my comfort movie: Twilight)

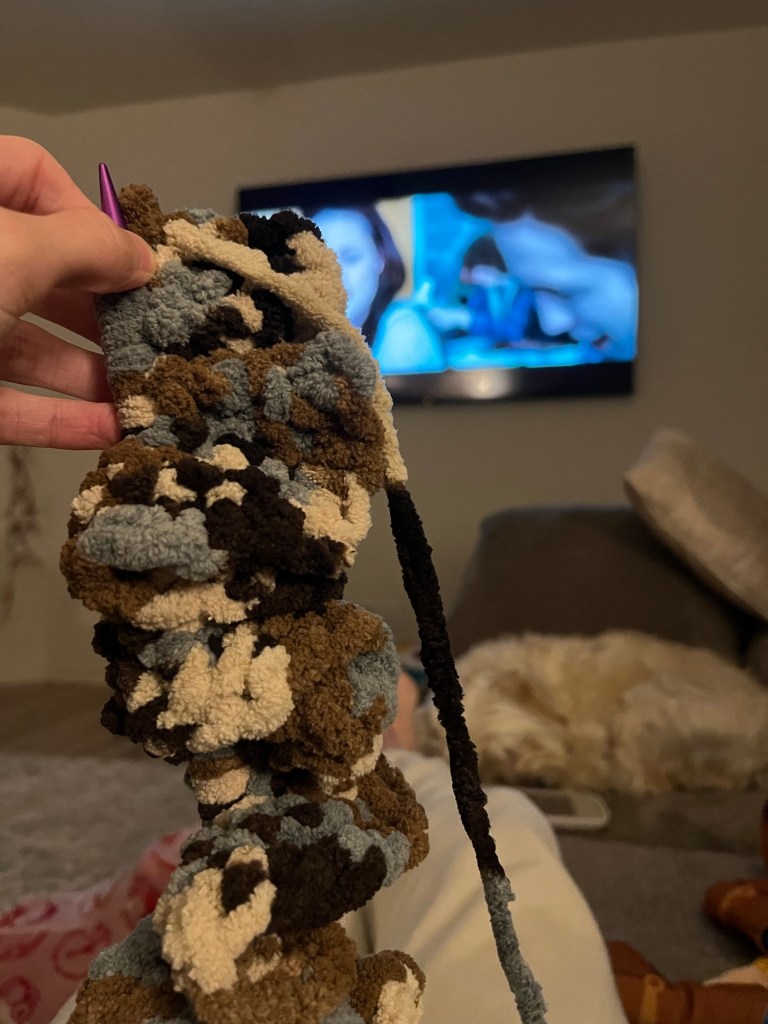
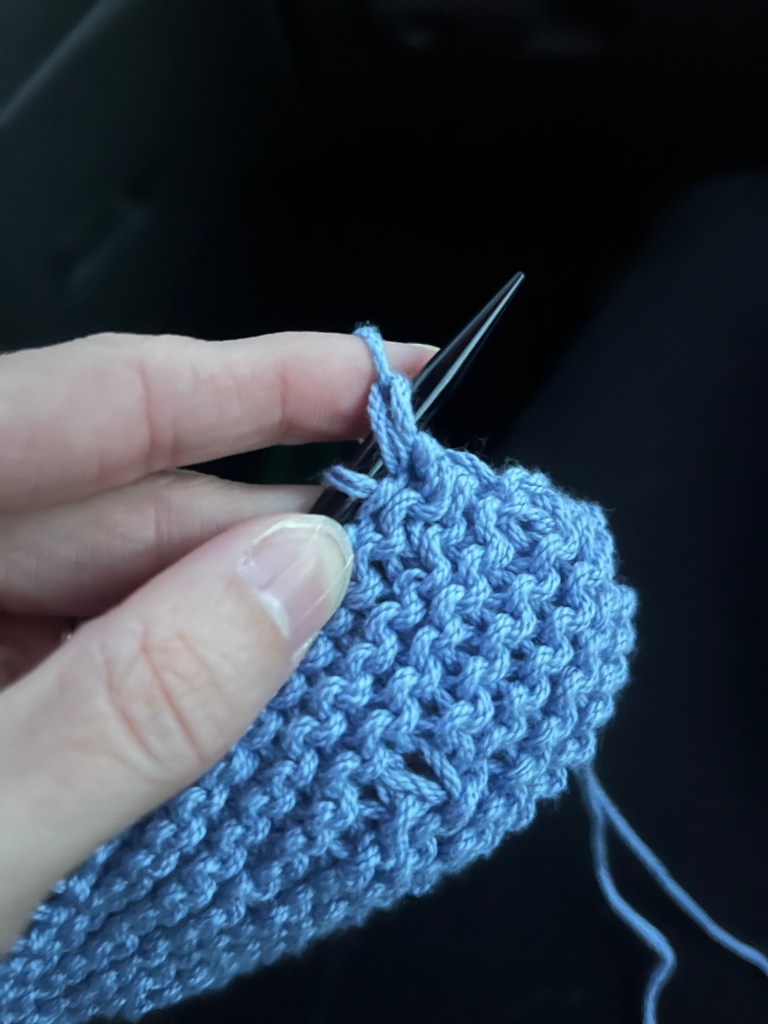
    So I restarted on the circular needles. This was much easier on my hands and wrists…until my fingertips started hurting from the pointy ends of the needles. My hands were so tired, I had to take a break.

    So much easier on my wrists

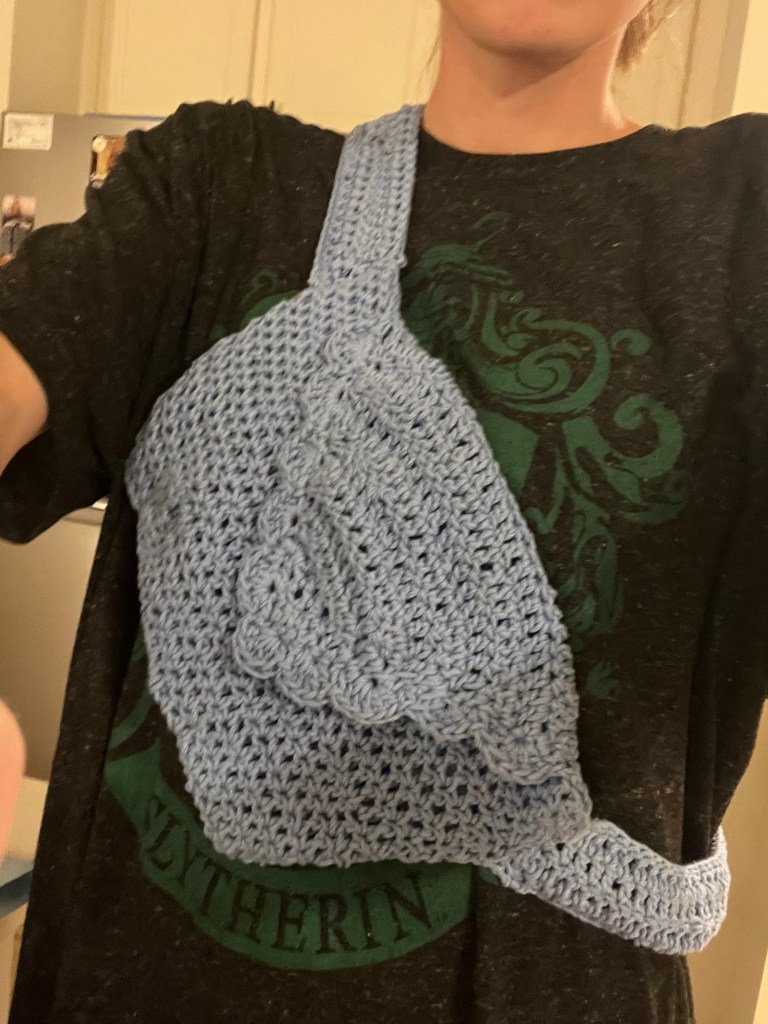
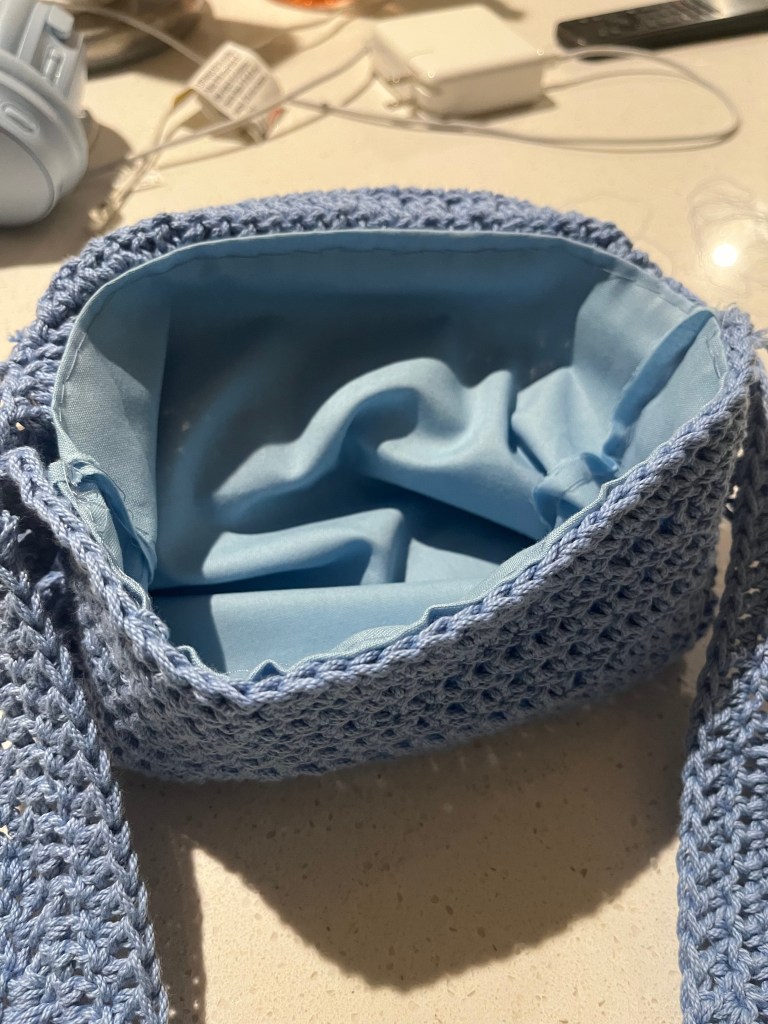
    I decided crocheting a quick little crossbody purse would be fun and I’d feel accomplished. A 4ft x 4ft baby blanket was a huge undertaking, so I figured I’d start another project. If you can believe it, I did finish the crossbody purse!

    I’ve never used it. It just sits in our entryway table, but I made it! With my own 2 hands!

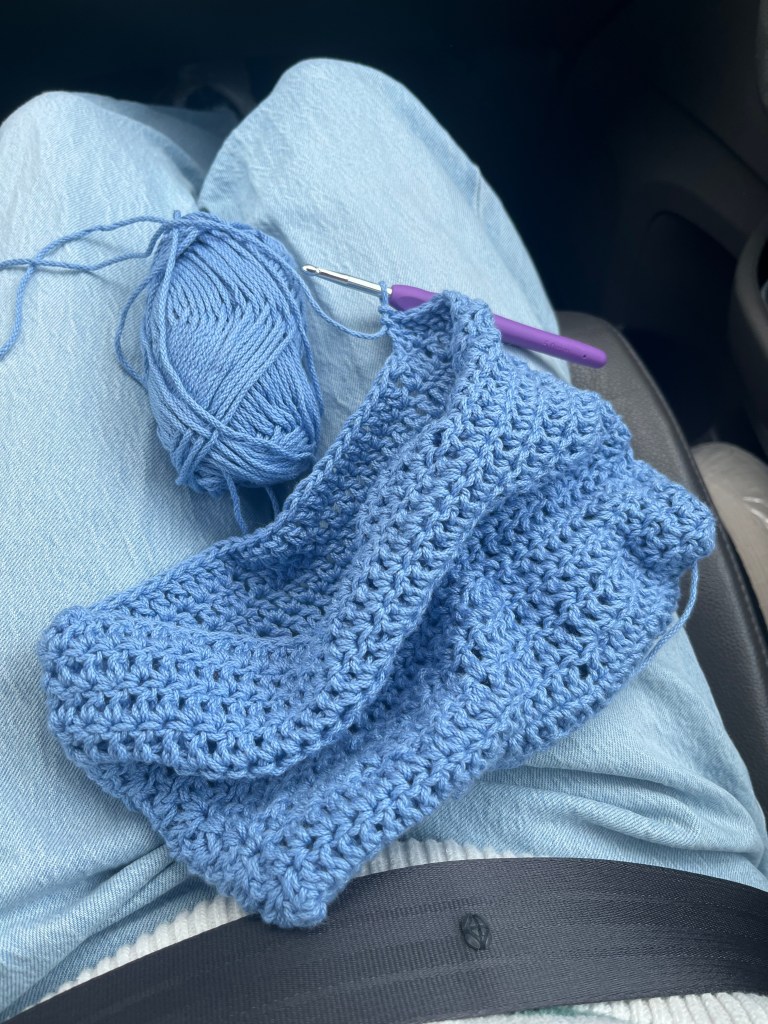
    Anyway, so back to the blanket, which remember I’ve already restarted once. I finished the crossbody so fast, I decide I’m going to crochet the blanket instead.

    I started from the other end of the cake just to keep my knitted blanket intact in case I didn’t like the crocheted look.

    Okay, now mind you, I’m trying to finish this before my cousin’s baby shower. I restarted this blanket 2 DAYS before the baby shower.

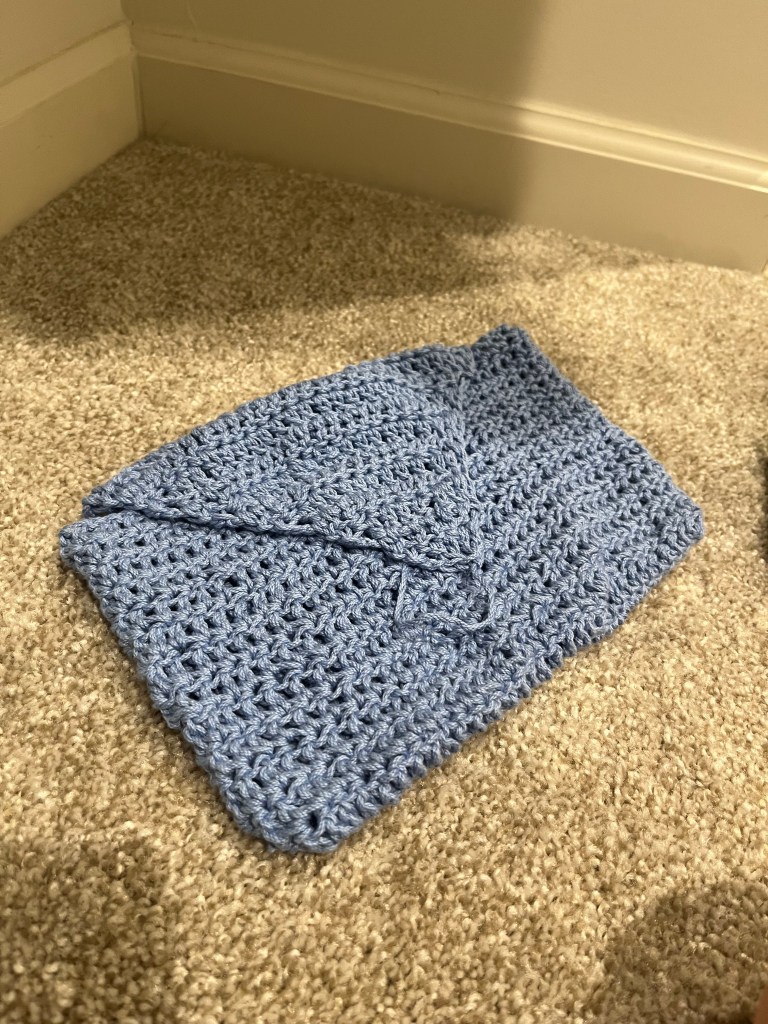
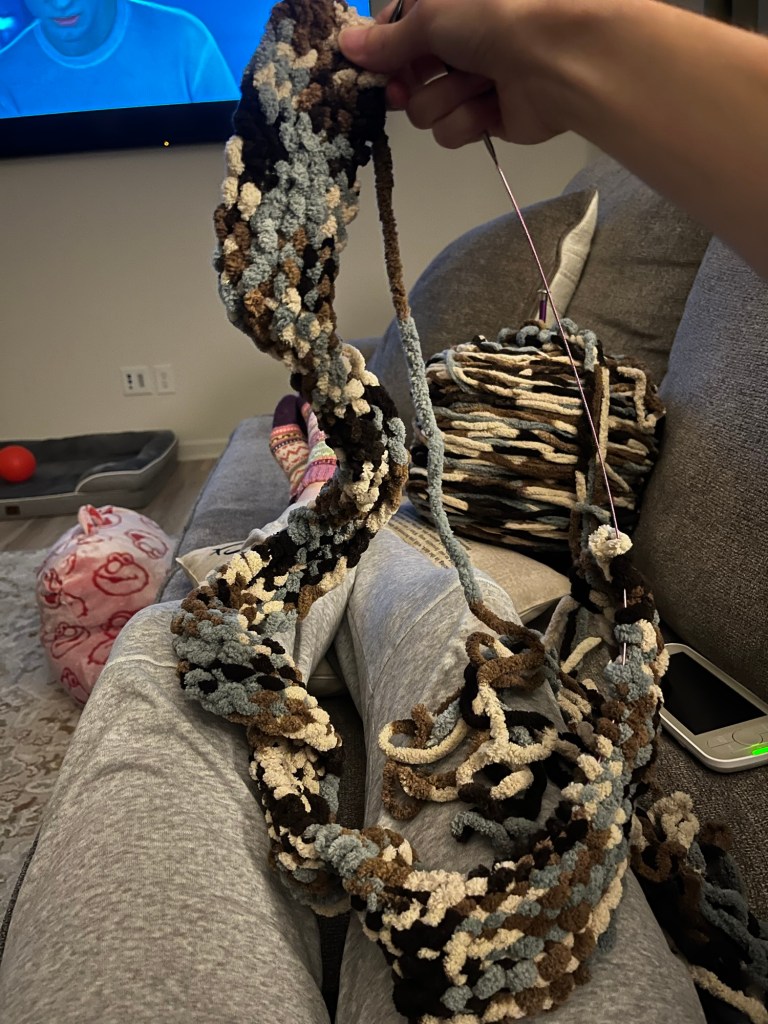
    So I fly through this blanket. I’m allllmmmooosssttt to the end of the yarn that begins my knitted portion of the blanket, when all chaos breaks loose. My yarn is a giant knot. I can’t undo it. I end up pulling it apart about 6 inches from my needle. Now I have to tie the yarn back together. I have no faith that I can tie it strong enough. So now I have an almost finished baby blanket, that was not finished in time for the shower (the baby isn’t here yet so technically I still have time), I have my entire “knitted” portion of the blanket left…and I just quit. It’s been sitting in my closet for a month. I came so close, but it’s still not completed. Maybe one day. And that day has to be before March.

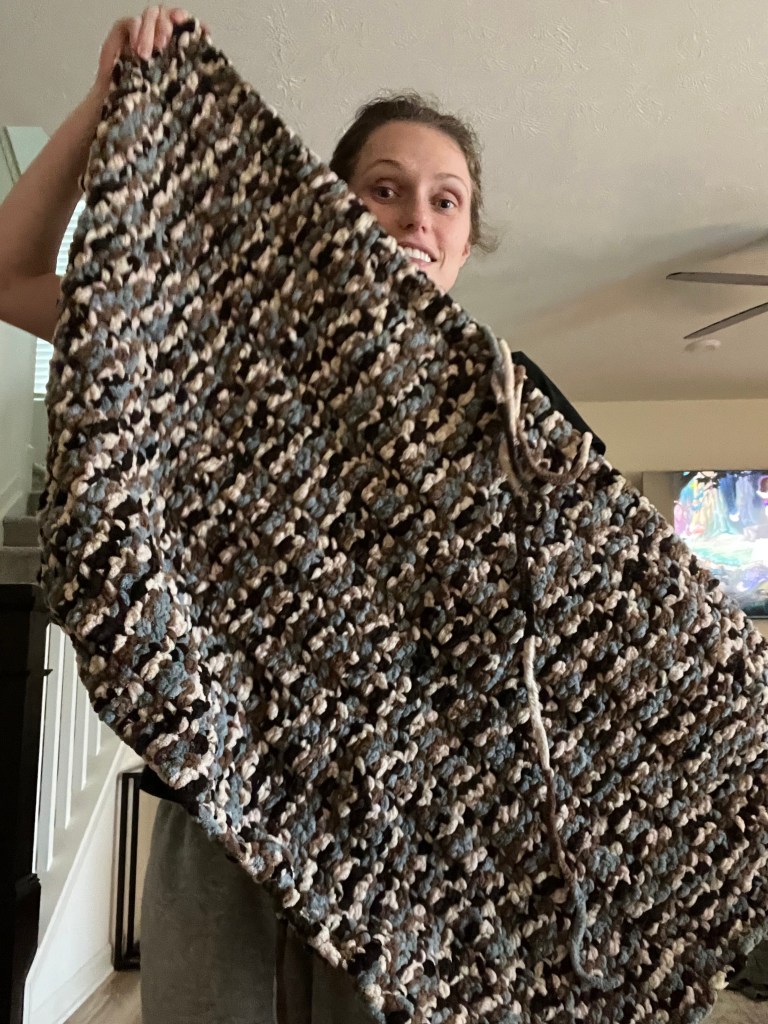
    Update: I just measured and it is currently sitting at about 3ft x 2ft. I have to at least add another foot before calling it complete. In a perfect world, I would add another 2 ft…

  • The cute crossbody purse I made in 3 days as a beginner crocheter

    The cute crossbody purse I made in 3 days as a beginner crocheter


    Some of the links in this post are affiliate links, which means I may earn a small commission at no extra cost to you. As an Amazon Associate, I earn from qualifying purchases.

    In the midst of a baby blanket fiasco, I decided I’m going to start ANOTHER project. I rationalized with myself that I needed to “do something quick to feel accomplished.”

    You know what? I DID finish it quickly. (In my humble beginner crocheter opinion) And I DID feel accomplished.

    Some of the links in this post are affiliate links. I may earn a small commission if you make a purchase at no extra cost to you.

    I’ll link all the materials I used here, in case you’re intested:

    I obviously thought I was some kind of professional starting my second project, because I had a vision in my head of exactly what I wanted and I thought for a second I would just wing it.

    I started out knitting the bag, but it was taking FOREVER and I somehow kept adding stitches in each row.

    knitting mistake
    This was looking so pretty. I loved the texture, but I somehow kept adding stitches each time so it wasn’t straight on the edge.

    I came back to reality and realized I can piece this together using resources from people that actually know what they’re doing.

    So I start my research. I wanted a crossbody bag that was big enough to fit 2 diapers, a small pack of wipes, and other essentials like my phone, wallet and car keys. This was going to be my “mom bag.”

    I found a tutorial on youtube that was exactly what I was looking for. It was for a book sleeve, but I just measured my toddlers pull up so I knew what size I needed.

    As you can see, I switched to my crocket hooks, because my hands just cannot grasp the concept of knitting. This was a great decision, because I started flying through this bag!

    progress photo

    Here is the tutorial I used in case you’re curious and want to try it out!

    I finished the main portion of the bag and realized…this tutorial is for a book sleeve, not a purse. So then I was brainstorming how do I crochet a strap??

    finished body of the purse
    I finished the main portion in our closet because I needed light but didn’t want to wake our baby.

    Well, I obviously got cocky because I just started crocheting a strap and measured the chain against my body. Newbie mistake. Double crochet makes the strap a little longer, so it unfortunately ended up being an awkward length.

    I used it for one day and realized I needed to add a lining because the yarn was stretching with all of my stuff in it.

    finished crochet purse on my body

    So I called my mom up and asked for her sewing kit. I had leftover fabric from my Goodwill Bear Lamp flip so I was able to get started on a lining immediately!

    lining of purse

    This is my first ever crochet project that I completed. I love the color of yarn I chose. I love the way it looks sitting on our entryway table…but I honestly haven’t used it since I completed it.

    I’ll give it another go soon and see how it works out. I think I’m not the biggest fan of where it sits on me. The strap has stretched even more from when I didn’t have the lining.

    Finished crochet purse

    Either way, I’m proud of myself for completing it!

  • Goodwill Bear Lamp Flip: Cozy Nursery Decor on a Budget

    Goodwill Bear Lamp Flip: Cozy Nursery Decor on a Budget

    I’m finding a new passion for making things with my hands. When I went thrifting with my cousin and came across this teddy bear lamp at Goodwill, I immediately started brainstorming how to flip it to fit perfectly into her nursery.

    We went on a mission to look for teddy bear-themed decor, so when I saw this lamp, I knew she had to have it. I double checked with her to make sure she liked the lamp itself, so when she gave me the go-ahead, it was officially mine.

    A Cozy Goodwill Lamp Makeover for a Nursery

    The lamp was only $5, and I found a lamp shade for $1.50!

    Love cozy diy projects and goodwill finds? Subscribe to stay in the loop and never miss a post!

    This Goodwill lamp makeover took me a few weeks to finish, mostly because I worked on it during nap time, late nights, and at one point by locking myself in a room just to finish painting the blocks. Life of a mom, am I right?

    I stuck with a traditional teddy bear shade of tan because I felt like it would pair best with the blues and green I chose for the rest of the lamp. I wanted it to feel cozy, warm, and timeless in her nursery.

    I really wish I had a before photo of the lampshade. It started out as a dingy white, and I meticulously glued each panel of fabric in place, along with the trim separating each section. When I reached the bottom of the shade, it felt like it needed a little extra something.

    My cousin had shared her Pinterest board with me, and I noticed a lot of scalloped details throughout her nursery inspiration. Naturally, I went on a hunt and found the prettiest scalloped crochet trim at Michaels. It matched the blue fabric perfectly. As a boy mom myself, I also love sneaking in slightly “girly” touches here and there just to keep everyone on their toes.

    I absolutely love how this thrifted bear lamp makeover turned out. It’s a one-of-a-kind, cozy nursery lamp and such a special gift to give. There’s something so meaningful about creating something with your own hands and personalizing it just for someone you love.

    What was the last gift you gave that you made with your own 2 hands? (whether from scratch or a good zhuzh)

  • The $50 Oak Table That Stole My Heart

    The $50 Oak Table That Stole My Heart

    I’ve been keeping an eye out for a small table to fit in our little café nook in the kitchen. Something with character, but not too big or too fancy.

    One Saturday morning, I was scrolling through Facebook Marketplace (as one does) when I spotted a solid oak table listed for just $50. The photos looked promising. A few scratches, sure, but nothing a tablecloth couldn’t hide. I didn’t think twice. My Papaw happened to be in town that weekend with his truck, so I sent my husband, my dad, and Papaw off on a little furniture rescue mission.

    When they brought it home, the table looked a bit rougher than the pictures had let on. The top had definitely seen better days, but I shrugged and said, “I’ll just clean it up, throw a tablecloth on, and call it a day.”

    My papaw wasn’t having it. He told me it would be super easy to refinish the top and that it would look like a brand-new table with just a little elbow grease. And when my Papaw tells me I can do something, I believe him.

    So the next day, I ran out to grab some sandpaper and got to work. Luckily, we already had an orbital sander, so I started with what the 60 grit sandpaper we had on hand to strip off the old finish and smooth out all the scratches and marks. That part actually went faster than I expected!

    Next, I switched to 180 grit and sanded by hand (since I forgot to buy the right kind for the sander — whoops). It wasn’t bad, though; the 60 grit had already done the hard part. I finished it off with 220 grit for a silky-smooth surface before cleaning the top with a little soap and water to get rid of the sawdust.

    After Staining!!

    For the stain, I used the same one from our mudroom bench project. It’s always satisfying to use what you already have, and it ended up being the perfect match. After two coats of stain, I ran to the hardware store for a top coat. I ended up doing three coats total (my first two were way too thin), and when it dried, I stood back and couldn’t believe how beautiful it turned out.

    I’ve never refinished furniture before, but this little $50 oak table turned into something really special. It fits perfectly in our kitchen’s café nook and looks like it was made for the space. I’m so glad my Papaw talked me into tackling it instead of hiding it under a tablecloth.

    I did “borrow” the chairs from our dining room for now, so I’m officially on the hunt for replacements but honestly, they look better here anyway.

    There’s just something about bringing an old piece back to life that makes a home feel extra cozy. If you love a good before-and-after, you can check out my DIY mudroom bench next — I used the same stain, and it turned out beautifully.

  • How My Parents Added Character to their Builder-Grade Home

    How My Parents Added Character to their Builder-Grade Home

    My parents are always up to something creative, but their latest project might be my favorite yet. They built an accent wall in their living room. It started out as a simple paint refresh and turned into a full-on DIY adventure, complete with multiple hardware store stops, a few minor injuries, and plenty of laughter.

    The Inspiration

    When I asked what inspired them, my mom immediately said,

    “I saw it on Instagram! I’m just trying to get rid of that builder-grade look.”

    My dad, on the other hand, admitted,

    “I didn’t want to do it. It looks good. I’m just saying.”

    It all started with an empty wall that just felt too plain. They painted it first, thinking that would be enough but after living with it for a bit, they both agreed it still needed something more. So the idea for a box-trim accent wall was born.

    Planning the Layout

    They began the old-fashioned way: with pen and paper. My dad measured (and re-measured) the wall to decide how many boxes they wanted. Once they had a rough plan, they taped out the design on the wall and left it up for a couple of weeks just to make sure they liked the layout before committing.

    When it was finally time to start, they made a list of supplies and headed out for what was supposed to be a quick trip to Home Depot.

    Except… they accidentally drove to Lowe’s.

    By the time they realized, they were already at the back of the store in the tool section. So, naturally, they turned around, left Lowe’s, and went to Home Depot where they bought a new level, nailer, nails, and caulk. Unfortunately, the wood selection was a letdown. My dad tried cutting a piece himself, but it chipped. “Junk,” he said. My mom wasn’t impressed either.

    So off they went again. This time to Menards, which they both agreed had the best wood selection (and cheaper prices, too).

    After all that, they stopped by our house to borrow a saw and a battery… but ended up visiting the rest of the night instead. The next morning, they finally got to work.

    Building the Wall

    Once they got started, things moved pretty quickly. Between cutting, nailing, and double-checking every measurement, they worked from about 10:30 a.m. to 2:30 p.m., with a break for lunch and some distractions from the football games (the project was completed on a Sunday).

    The wall features 12 pieces of 8-foot MDF base cap molding, about 1.5 inches wide, attached with a pin nailer and finished with paintable caulk.

    There were a few battle wounds along the way…my dad managed to cut his finger (no idea how) and hit another with the nail gun. Luckily, it didn’t go through. While recalling the nail hitting his finger, he went on a tangent about the time he stapled 2 of his fingers together. It was very traumatic so if you ever get the chance, be sure to ask about it. He swears it’s the worst pain he’s ever felt: the staple, not pin nail.

    What They Learned

    Like most DIY projects, there were lessons along the way.

    “Cut a little extra and dry fit before cutting again,” my dad said.

    “And if you’re doing a big wall, you can’t do it alone — those top boxes were five feet tall!”

    He also offered some advice for anyone trying this at home:

    Nail in the center of each board first to help line it up before securing the rest. Don’t rush the measuring: “Measure, remeasure, and then measure again.” Use a baby wipe to smooth out caulk for a clean finish. “It takes it right off the wall. No mess.”

    When I asked what the hardest part was, they both laughed.

    Dad: “Figuring out the spacing to make it look uniform.”

    Mom: “Listening to your dad complain about it and waiting on him to do it!”

    And the best part?

    “We bought exactly the right amount of wood,” my dad said proudly. “Didn’t cut a single piece wrong.”

    The Finished Look

    The finished wall completely transformed their living room. The clean lines and subtle texture make the space feel more custom and collected. Exactly what my mom was going for. My dad says,

    “It’s up there. It’s up there good. It’s up there straight. It looks good.”

    Which, coming from him, is high praise.

    Their next step is buying paintable outlet covers so they blend in seamlessly with the wall.

    My mom’s already dreaming up their next project: wood slats in the entryway. My dad’s a little less enthusiastic, but I think we all know how this story ends…with another beautiful wall and a few more laughs along the way.

    Final Thoughts

    What I love most about their accent wall isn’t just how good it looks (and it really does look great). It’s the mix of teamwork, patience, and humor that went into it. DIY projects can be messy and unpredictable, but they’re also full of stories and this one perfectly fits them: equal parts determination and comedy.